Introduction
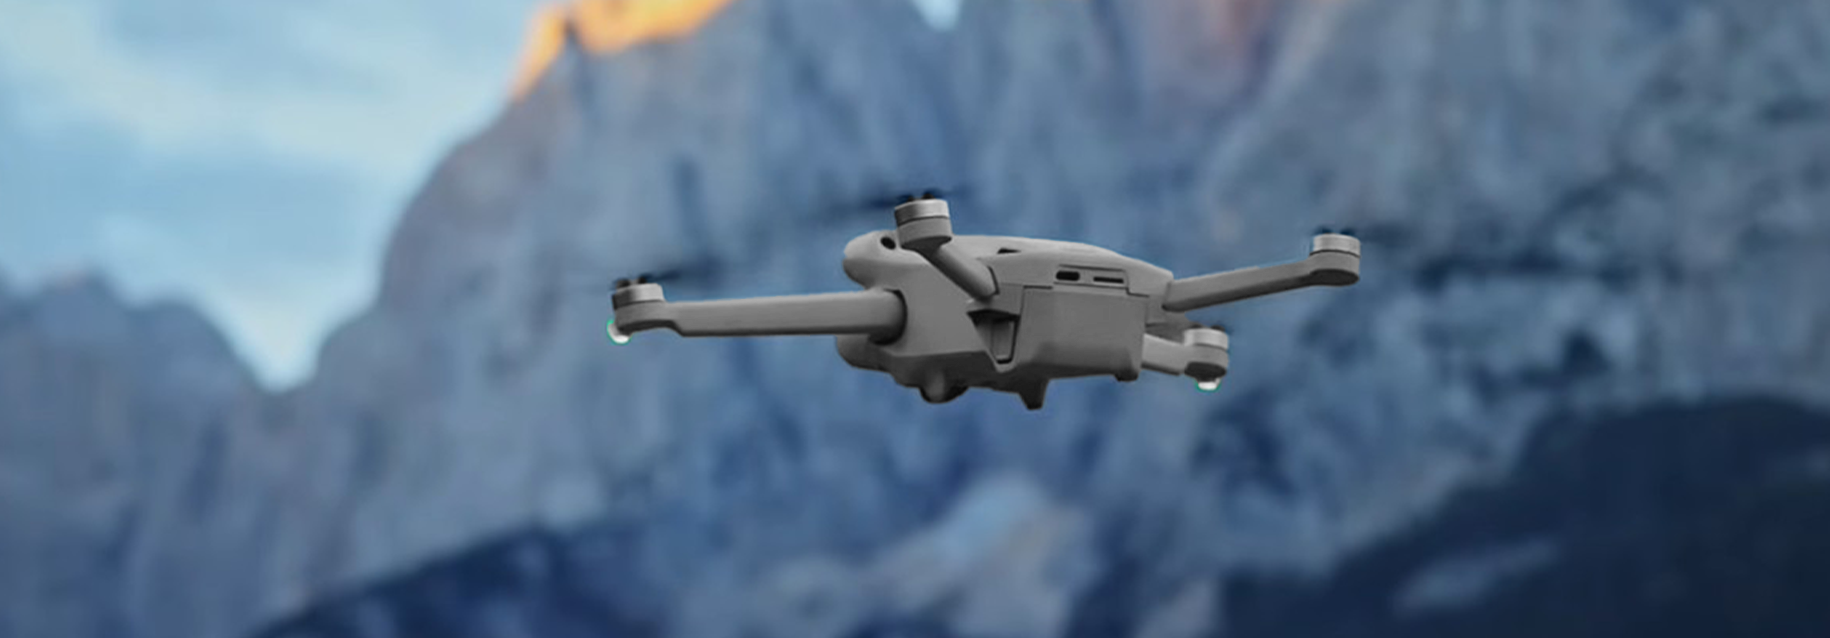
Speed matters in drone innovation. With rapid prototyping, aerospace teams can check designs, make changes and produce precise components in less time. Fast iteration is the key to turning cutting-edge ideas into working drones that perform under real-world conditions.
CNC machining stands out by delivering tight tolerances and quick turnaround for even the smallest details. This technology helps overcome common aerospace hurdles like lightweight frame construction, complex geometries and consistent part quality. Drawing on Clarwe's deep manufacturing experience, this article covers proven methods, key benefits and the best practices for rapid prototyping of drone parts.
If you're looking to improve precision or speed in your prototyping process, you'll find answers here. For those interested in materials, advanced processes or sourcing components, Clarwe'sCNC machining services offer solutions tailored to aerospace needs.
Why Rapid Prototyping Matters for Drone Components
Reducing Development Time and Cost
Producing drone parts quickly and affordably is no easy feat. Traditional methods, like injection molding or manual fabrication, can take weeks and cost a small fortune in materials and setup.CNC machining changes the game with:
Speedy turnarounds:
Orders can ship in days, not weeks, slashing project timelines.
Cost-effective production:
No costly molds or special tools are needed, making prototyping accessible and repeatable.
Minimal upfront investment:
Create one or a few functional prototypes without breaking the bank.This matters in aerospace, where every gram and millimeter counts. Fast, accurate models mean teams can spot design flaws earlier, avoid costly mistakes and stay on track.
Facilitating Design Iteration and Testing
When prototyping drone parts, nothing beats hands-on testing. Quick CNC iterations make it possible to tweak shapes, reduce weight and optimize performance without long delays:
Rapid feedback:
Engineers can test, adjust and retest components, getting real-world results in a fraction of the time.
Support for innovation:
Creative solutions to weight-saving and geometric challenges are easier to try out when new versions are just a day or two away.
Tighter tolerances:
CNC processes produce reliable, consistent parts—critical for components like frames, brackets and housings that must fit together perfectly.The ability to cycle through tests and changes lets aerospace teams push boundaries, building drones that are lighter, faster and more responsive to mission needs.
Meeting Aerospace Quality Standards
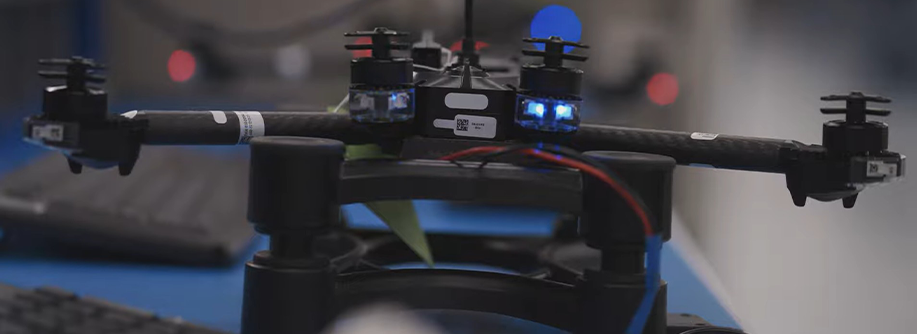
Precision isn't optional in aerospace manufacturing—it's the rule. Drone parts must meet strict requirements for:
Accuracy:
Components often need tolerances within microns. CNC machining delivers repeatable results, part after part.
Reliability:
The right materials and finishing steps help prototypes endure tough operating conditions, from high winds to rapid changes in altitude.
Compliance:
Aerospace standards dictate detailed documentation and traceability, all easily supported by digital CNC processes.Clarwe's expertise in Aerospace Manufacturing is built on years of delivering tight-tolerance components for demanding clients. The company's background gives drone innovators confidence that every prototype aligns with industry regulations and flight safety needs.
With rapid prototyping via CNC, drone development moves faster, with lower risk and better compliance. Teams can focus on building drones that not only fly but excel.
How CNC Machining Enables Fast, Accurate Prototyping
Advantages of CNC Machining for Drone Parts
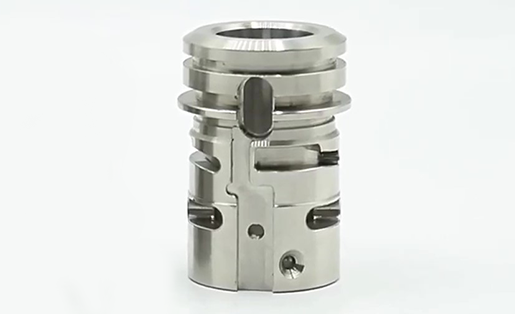
Extreme Precision:
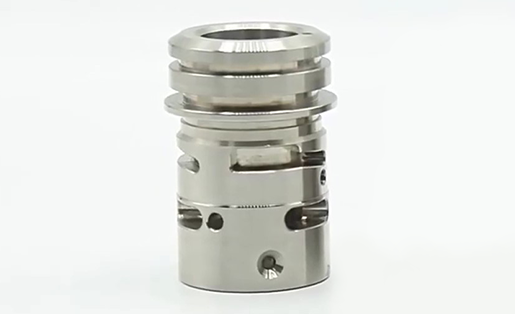
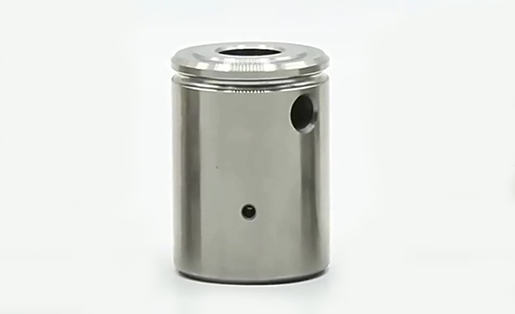
CNC equipment produces motor mounts, gimbals, frames and housings to tolerances as fine as ±0.005 mm. This level of detail is a must for complex assemblies and UAVs with strict aerodynamic requirements.
Consistency and Repeatability:
If you're testing three variations of a motor bracket, all will arrive identical—no hand-built quirks or surprises.
Speed and Scalability:
CNC systems handle one prototype or a dozen without grinding production to a halt. Rapid toolpath programming means you can get the first sample in as little as 72 hours.
Material Freedom:
Whether you want aluminum for lightness, titanium for toughness or plastics for insulation, CNC cuts across a wide swath of materials. Need both rigid and flexible parts on the same prototype? That's possible, too.For drone startups and aerospace engineers, this means you can experiment fearlessly and move ideas from CAD to working parts almost overnight. CNC isn't just about making parts—it's about making them possible at the speed and scale your project demands.
Selecting Materials for Drone Prototypes
Drone designs balance strength, weight, cost and in-air performance. Each application—from hobby drones to industrial UAVs—demands the right material fit. CNC machining makes it easy to switch materials based on what's needed for each part of the prototype. Here are common choices and why they matter:
Aluminum:
Used for most drone frames and key structures. It's lightweight, resists corrosion and handles rough landings and tough weather. Alloys like 6061 and 7075 offer even higher strength with half the weight of steel. Aluminum's easy machinability speeds up both sample making and testing.
Plastics:
Perfect for battery housings, lightweight covers, and internal mounts. Plastics like ABS and polycarbonate can be CNC machined to create protective shells and mounts that absorb some impact. For more on fabrication methods, see thisoverview of plastic fabrication, which covers reaction injection molding and more.
Composites:
Advanced drones may use carbon fiber or glass-filled nylon for everything from rotor arms to gimbals. Carbon fiber combines very low weight with high strength, often in honeycomb or foam-core structures.
Titanium and Stainless Steel:
Reserved for high-stress applications—such as folding rotor joints or gear mounts—these metals provide unmatched durability and vibration resistance, ideal for drones with heavy payloads or rough missions.Material selection shapes every aspect of a drone prototype. Teams often mix and match—an aluminum main frame with polycarbonate covers or a carbon fiber arm paired with titanium joints. CNC machining adapts quickly, letting you pivot designs and test different combinations until the perfect balance is found.
When time is tight and quality matters, the right process and material decisions make the difference between a working drone and one that never leaves the bench.
Selecting the right material is critical for drone prototypes, balancing strength-to-weight ratio, machinability, and cost for CNC processes. This table compares key options with mechanical properties and tolerances achievable at Clarwe.
| Material | Density (g/cm³) | Tensile Strength (MPa) | Yield Strength (MPa) | CNC Tolerance Achievable | Best Drone Use Case |
|---|---|---|---|---|---|
| Aluminum 6061 | 2.7 | 310 | 276 | ±0.01 mm | Frames, lightweight structures |
| Aluminum 7075 | 2.81 | 573 | 503 | ±0.01 mm | High-stress arms, mounts |
| Titanium Ti-6Al-4V | 4.43 | 1170 | 1100 | ±0.005 mm | Motor housings, durability |
| ABS Plastic | 1.05 | 40-50 | 30-40 | ±0.02 mm | Guards, non-structural |
| Carbon Fiber Composite | 1.6 | 500-2000 | 300-1500 | ±0.05 mm | Arms for stiffness |
| PEEK | 1.32 | 90-100 | 70-80 | ±0.02 mm | High-temp electronics housings |
Best Practices for Rapid Prototyping Drone Components
Design Principles for CNC-Ready Drone Parts
Good design for CNC starts well before a single tool touches metal or carbon fiber. When engineers optimize models for manufacturability, the process runs faster, fewer errors creep in and prototypes cost less to make. Consider these core design tips:
Minimize unnecessary complexity:
Avoid ultra-fine internal features or undercuts that are tough for CNC tools to machine. Simpler designs reduce both machining time and chance of tool breakage.
Standardize wall thicknesses:
Consistent wall thickness (ideally above 0.5 mm for metals, 1 mm for plastics) prevents warping and uneven material removal.
Optmize for tool access:
Keep deep pockets, sharp corners and tight radii to a minimum. Instead, use generous fillets and open pockets, making sure end mills can reach all features with ease.
Use appropriate tolerance levels:
Match your tolerance choices to the actual performance needs—avoid over-tolerancing, as this may increase cost without boosting function.
Account for post-processing:
If surface treatments like anodizing or sandblasting are planned, adjust your design dimensions to allow for any added thickness or finish changes.
Material selection matters:
Choose the right alloy or polymer for weight, strength and machinability. For more insights on balancing material choices and prototyping methods, explore thisoverview of plastic fabrication. Getting these basics right not only speeds up production but ensures every machined prototype reflects your intent.Workflow: From CAD to Finished Prototype
Digital Modeling:
Start with a detailed CAD design, complete with all geometry, tolerances and material specifications. Double-check that the model is “machinable”—free of errors and non-manufacturable features.
Design Validation & DFM Review:
Perform a manufacturability analysis. CAD software and experienced machinists can spot features that might slow production or hike up costs.
CAM & G-code Generation:
Use CAM (Computer-Aided Manufacturing) software to plan tool paths, select tool sizes and automate cutting routines. The result is ready-to-run G-code tailored for your machine and material.
Machine Setup:
Load materials, secure stock, install specified tooling and check all alignments. Program verification is essential—simulate tool movements to avoid costly crashes or wasted material.
Machining:
Run a first article on the machine. Advanced CNC machines can switch between tools on the fly, handle multi-process tasks and even offer real-time error correction.
Initial Quality Check:
Inspect key features with calipers, micrometers or 3D scanners to confirm dimensions match the design before taking the part off the fixture.
Post-processing:
Depending on needs, machine marks may be removed and parts could undergo anodizing, bead blasting or even dyeing. Finishing steps like these can further tune performance, prevent corrosion or improve aesthetics.
Final Inspection and Testing:
The finished prototype is measured against the original CAD file and tested functionally—making sure each part lives up to its flight-ready expectations.This workflow helps catch problems early, cut development time and support multiple prototype iterations.
Ensuring Precision and Reliability
Integrated inspection tools:
Use on-machine probes or sensors to track tool wear and instantly verify critical features. This reduces defects before the part leaves the machine.
Dimensional verification:
After machining, compare the part against the CAD using precision instruments like coordinate-measuring machines (CMMs) or lasers to check every key measurement.
Functional Testing:
Install the prototype in its intended assembly. Confirm that mounting holes, joinery or moving parts work together without forcing or play.
Surface and durability checks:
Evaluate the prototype for surface finish quality, scratch resistance (after anodizing, if needed) and structural soundness under load or vibration.
Continuous improvement:
Analyze inspection data and user feedback to close the loop-feed lessons learned back into he next design iteration.Companies seeking advanced quality control rely on digital traceability, checklists and real-world flight simulation to refine parts further. For examples of quality-driven manufacturing beyond aerospace, see how Clarwe brings the same dedication to Industrial Coatings and other sectors. Quick correction cycles, digital records and a focus on detail mean each part stays flight-ready and safe to use. Whether you build for fun or critical fleets, these precision steps keep prototypes on course from day one.

